

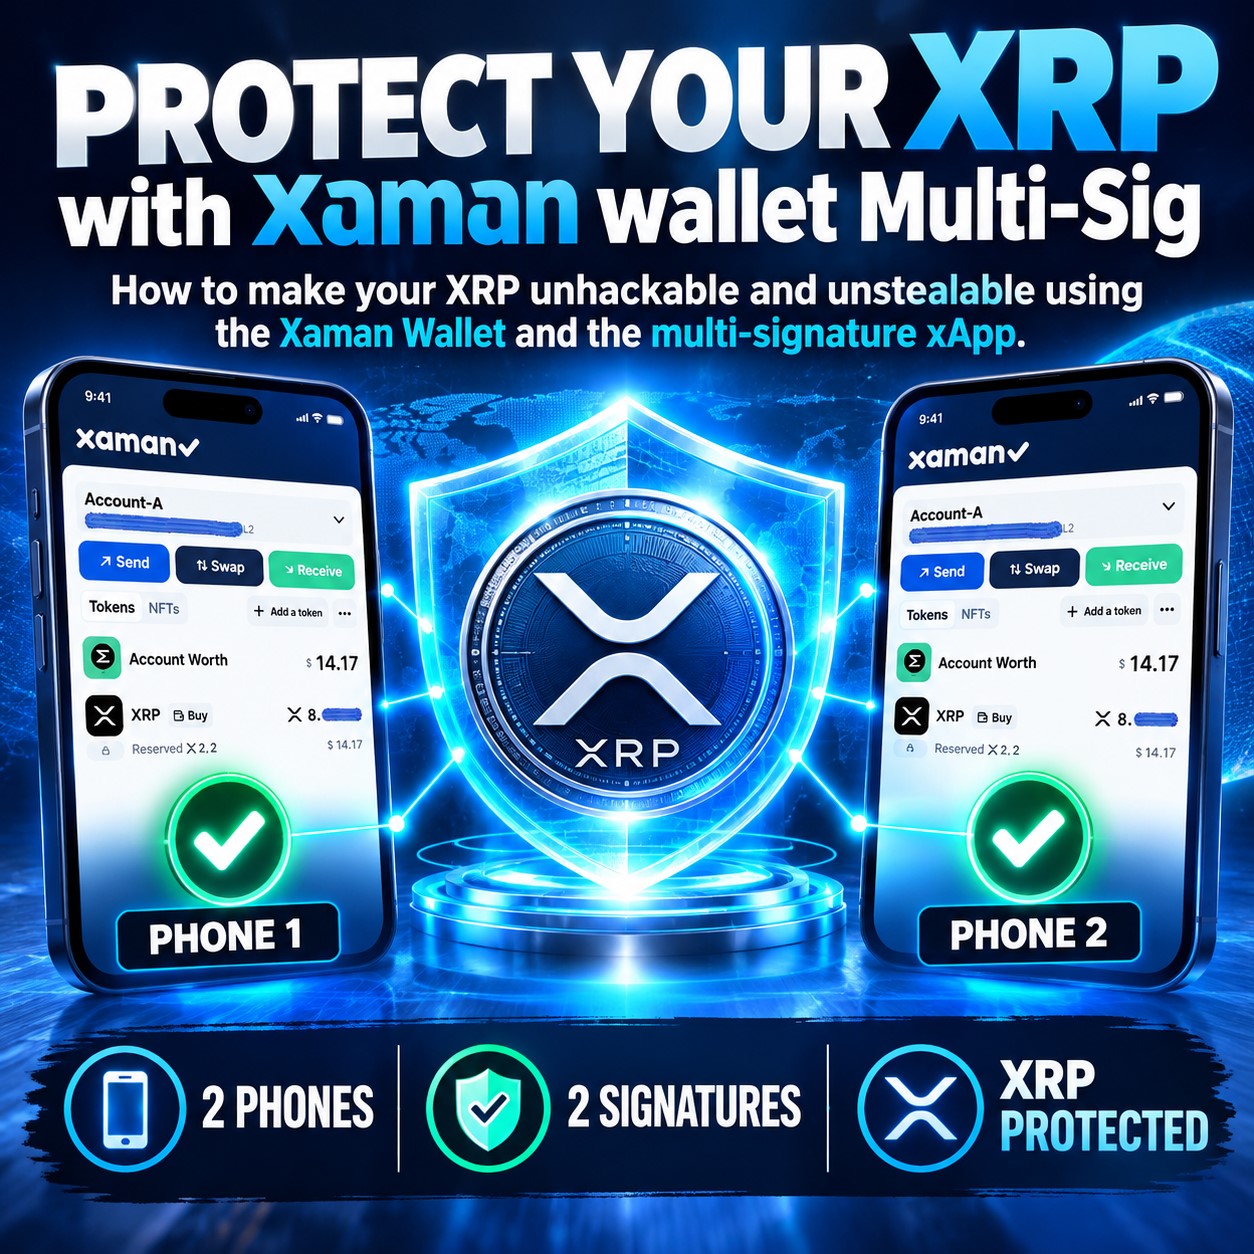
How to make your XRP unhackable and unstealable using the Xaman Wallet and the multi-signature xApp.
Watch video instructions here:
https://youtu.be/5Gp17g7FFBI
https://rumble.com/v7goaiu-protect-your-xrp-with-xaman-wallet-multi-sig-wealth-transfer-warning.html
https://x.com/Prophetic_Money/status/2108968096186651098
In this XRP Multisig Tutorial, we will show you how to execute a transaction using the MultiSign feature in the Xaman Wallet. Stay tuned for the second tutorial that will come out in the future, where we will show you how to set up MultiSig on your devices, from start to finish.
In our setup, we created 3 separate wallets in Xaman. Account A and B on Phone 1. And Account C on Phone 2. Account A holds our crypto and acts as our secure Vault, while Account B on Phone 1 and Account C on Phone 2 act as co-signers. With Account A’s master key disabled, both phones must approve every outgoing transfer.
To allow Phone 1 and Phone 2 to sign at different times without getting stuck, we pre-reserved 5 Tickets on the ledger. Think of a ticket as a reserved pass for one transaction. Each transfer consumes one ticket, and you can easily generate more whenever you run low.
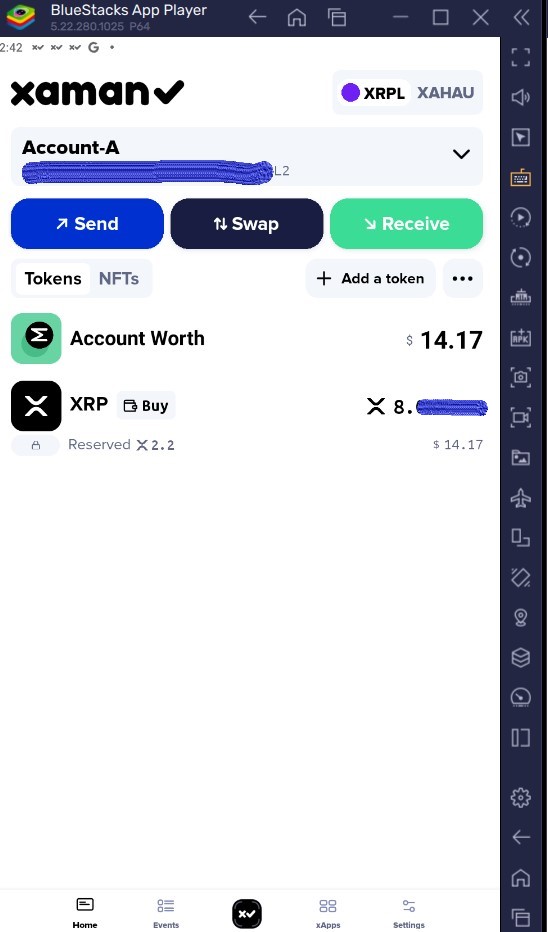
We begin the Multisig tutorial on Phone 1 by selecting Vault Account A (wallet address ending in L2).
Part 1: Initiating the Payment on Phone 1
Step 1: Phone 1 – Select Vault Account A (*L2)
Start on Phone 1 by selecting Vault Account A, which has Master Key disabled and requires 2-of-2 co-signing.
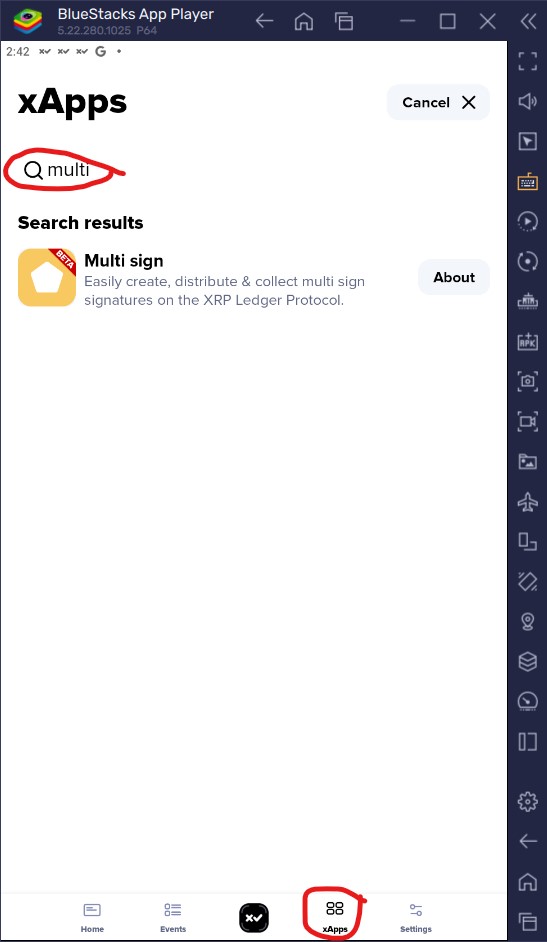
Step 2: Phone 1 – Launch MultiSign xApp
Open the MultiSign xApp to initiate an asynchronous multi-signature request on the XRP Ledger.
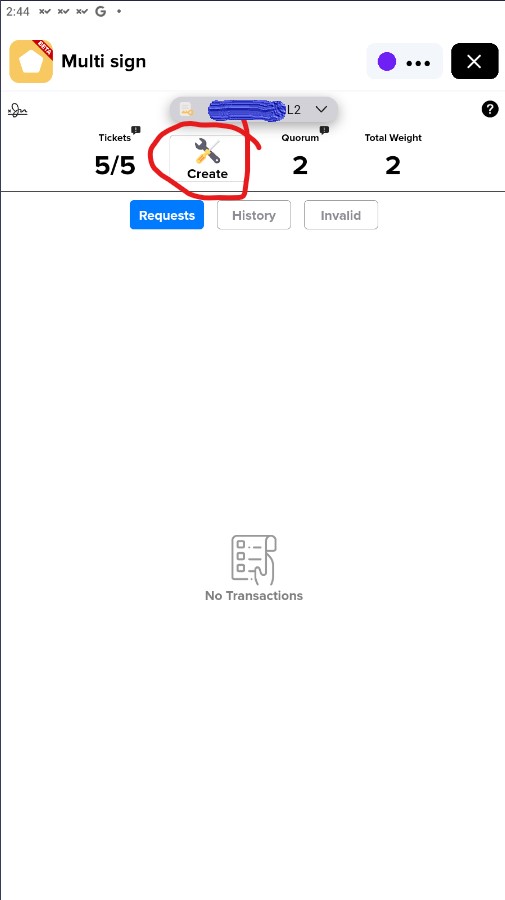
Step 3: Phone 1 – Initiate New MultiSign Request
On the MultiSign dashboard, tap Create to build a new multi-sig transaction proposal.
Step 4: Phone 1 – Select Transaction Type: Payment
Choose Payment from the transaction options to transfer funds out of Vault Account A.
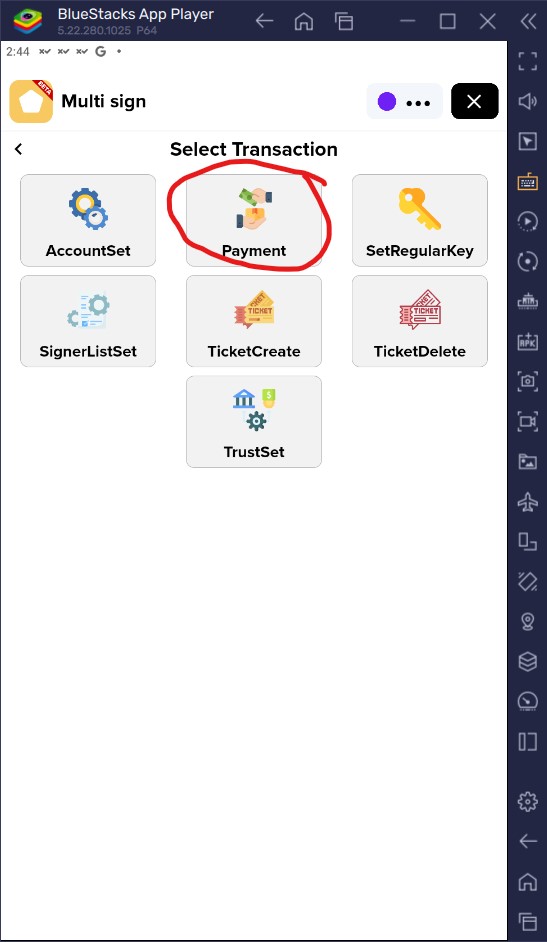
Step 5: Phone 1 – Open Payment Configuration
This opens the payment configuration screen, which automatically selects one of Account A’s available sequence tickets.
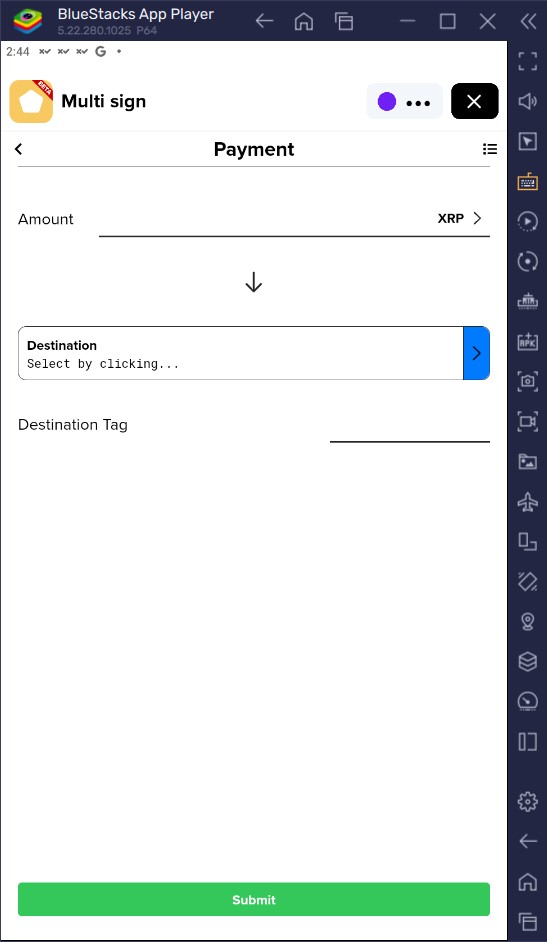
Step 6: Phone 1 – Set Transfer Amount
Enter the amount of XRP you wish to transfer to the exchange. And click on the Destination field.
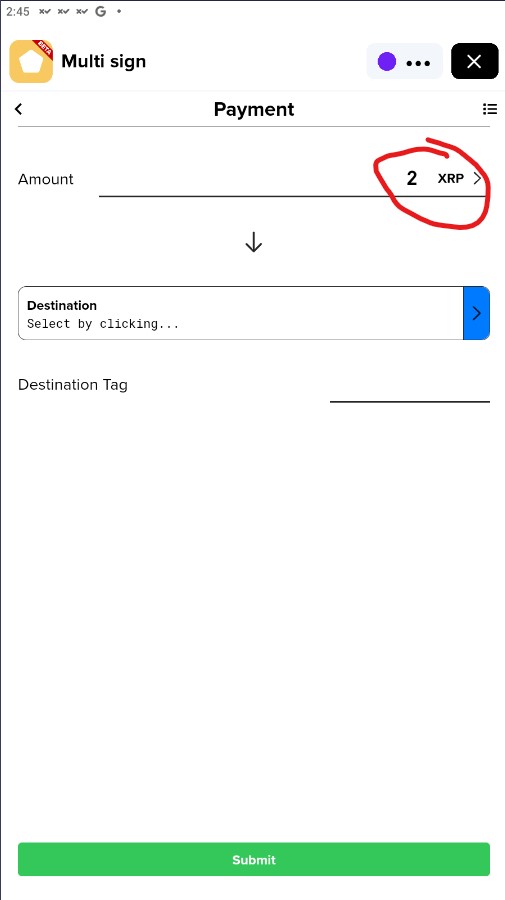
Step 7: Phone 1 – Enter Destination Wallet Address
Paste your XRP deposit address into the Destination field. And Click Next
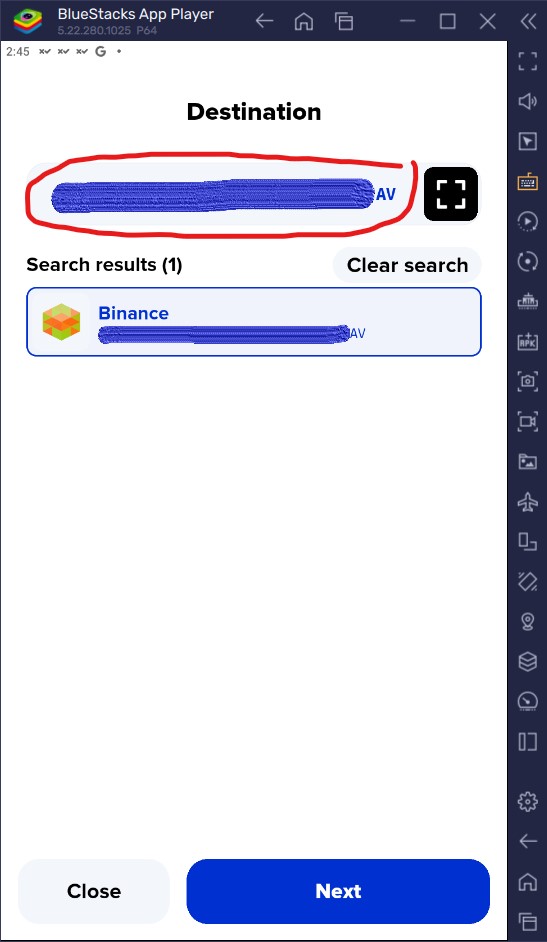
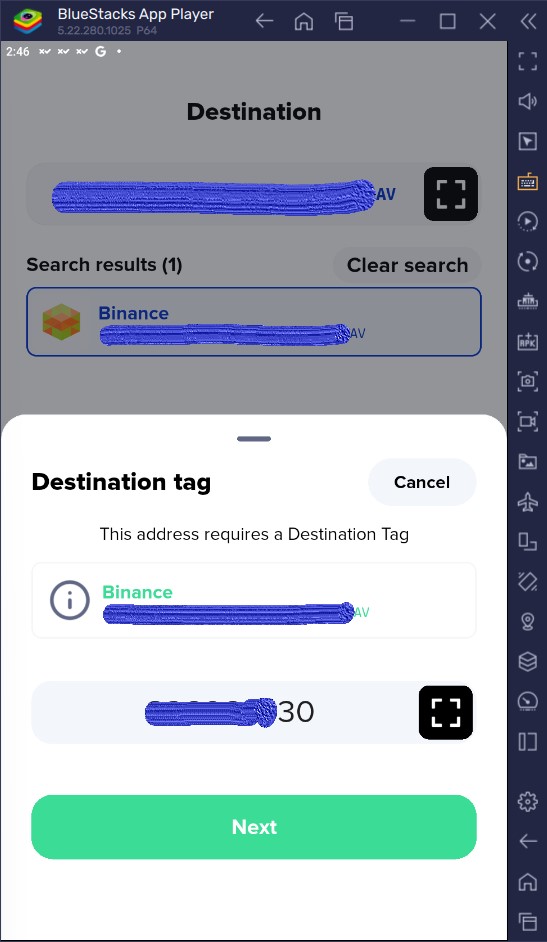
Step 8: Phone 1 – Add Destination Tag & Confirm
Enter your required Destination Tag to route the deposit to your specific exchange balance, then tap Next.
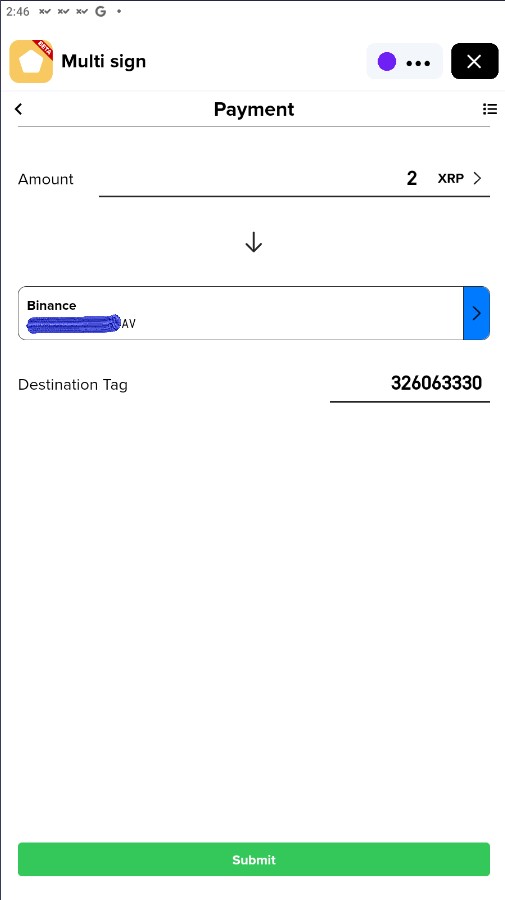
Step 9: Phone 1 – Payment Summary Screen (Click Submit)
Review the summary showing the XRP amount, destination address, and tag, then tap the green Submit button to generate the transaction payload.
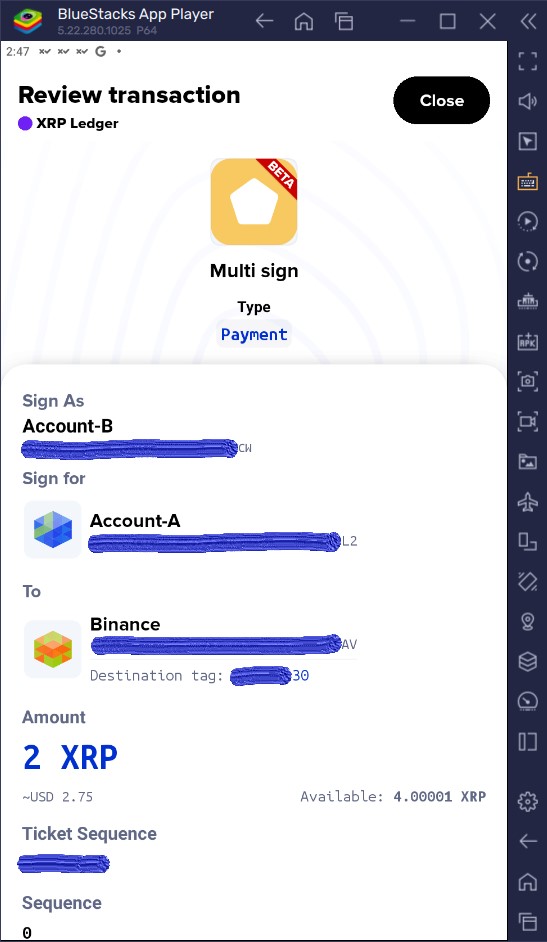
Step 10: Phone 1 – Review Transaction Parameters
Review the transaction summary on screen, verifying the destination address, amount, and ticket details before proceeding.
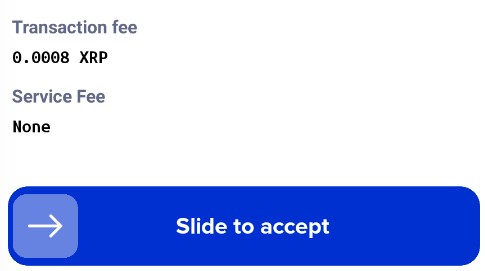
Step 11: Phone 1 – Slide to Accept (Signature 1 of 2)
Scroll down to the bottom of the Review Transaction screen and slide to accept using Phone 1 (Account B). This applies the first required co-signature (50% Quorum).
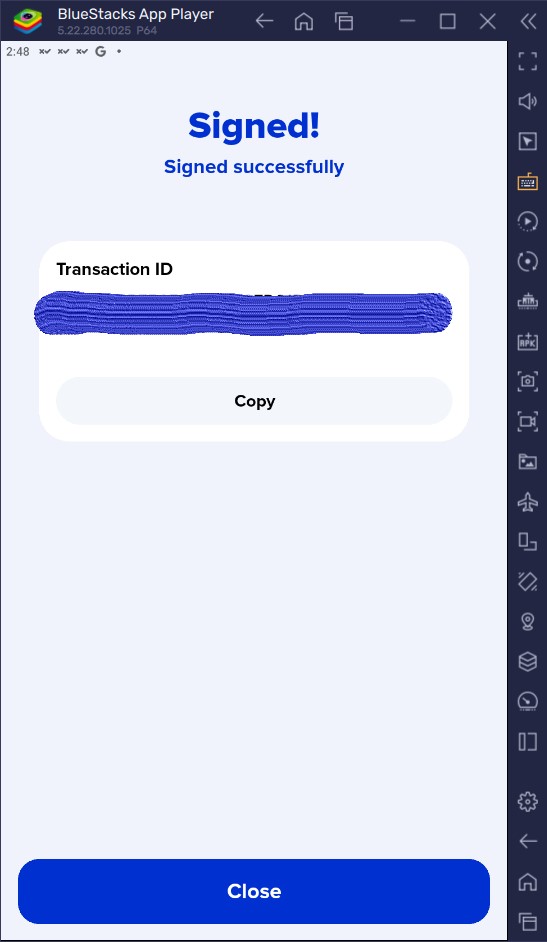
Step 12: Phone 1 – Signature 1 Applied
Confirmation that Phone 1 has successfully signed and stored the multi-sig payload.
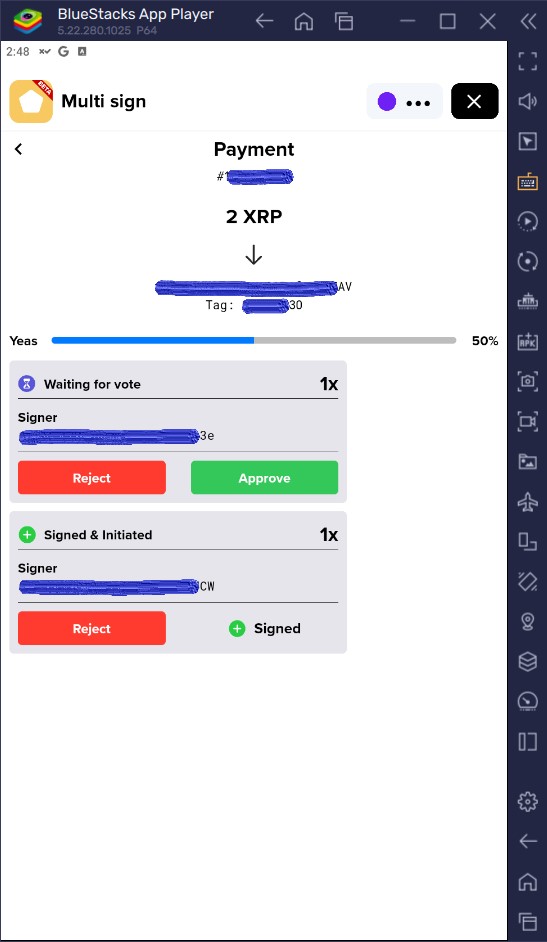
Step 13: Phone 1 – Awaiting 100% Quorum
The proposal now shows 50% voting approval, waiting for Phone 2 (Account C – *3e) to co-sign.
Part 2: Co-Signing and Broadcasting on Phone 2
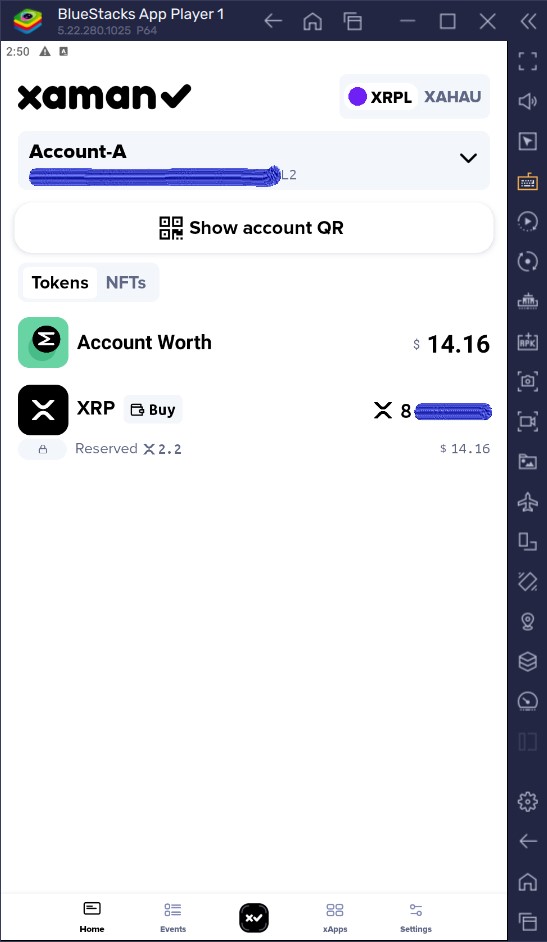
Step 14: Phone 2 – Access Vault Account A (*L2)
Switch to Phone 2 and select Vault Account A, which is loaded as a Read-Only account.
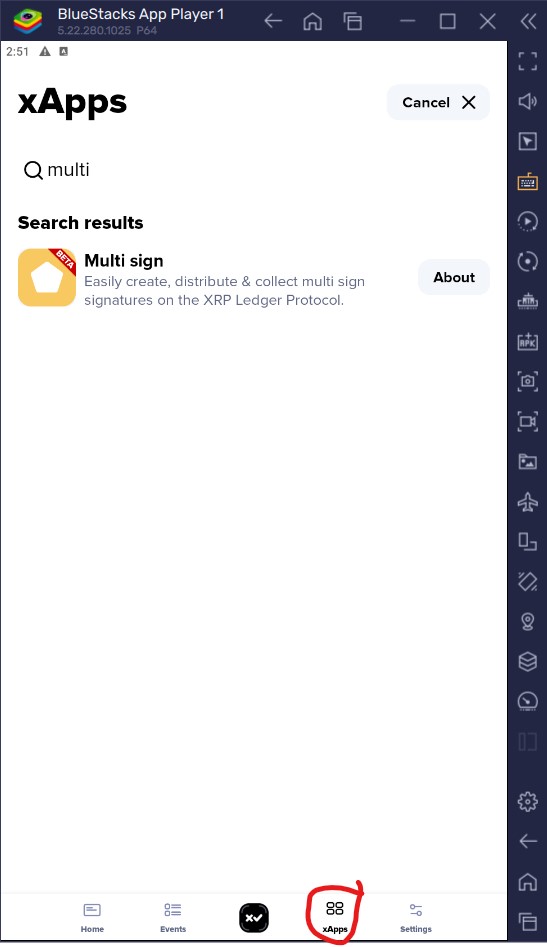
Step 15: Phone 2 – Launch MultiSign xApp
Open the MultiSign xApp on Phone 2 to access the pending multi-sig request queue.
Step 16: Phone 2 – Select Signer Account C (*3e)
Click blue arrow to Select your local key, Account C, to authenticate and sign on behalf of Vault Account A.
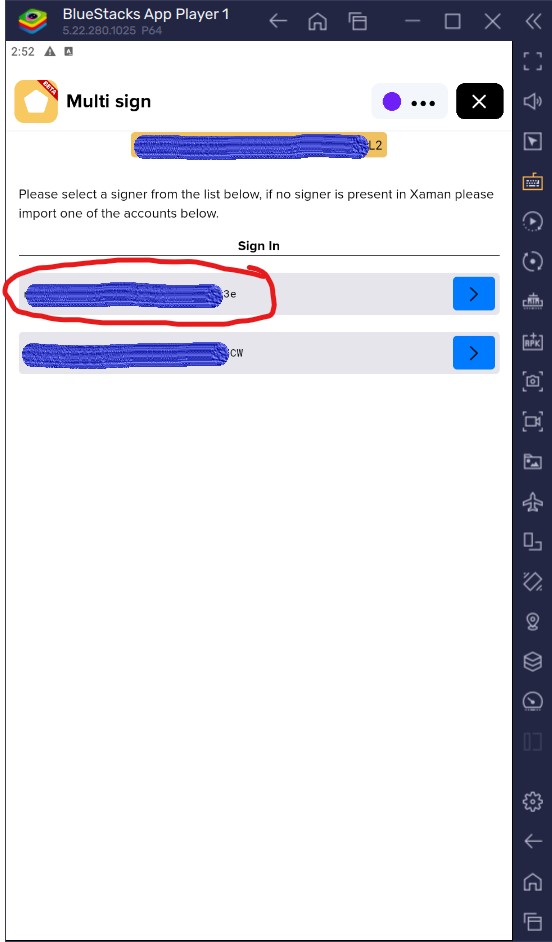
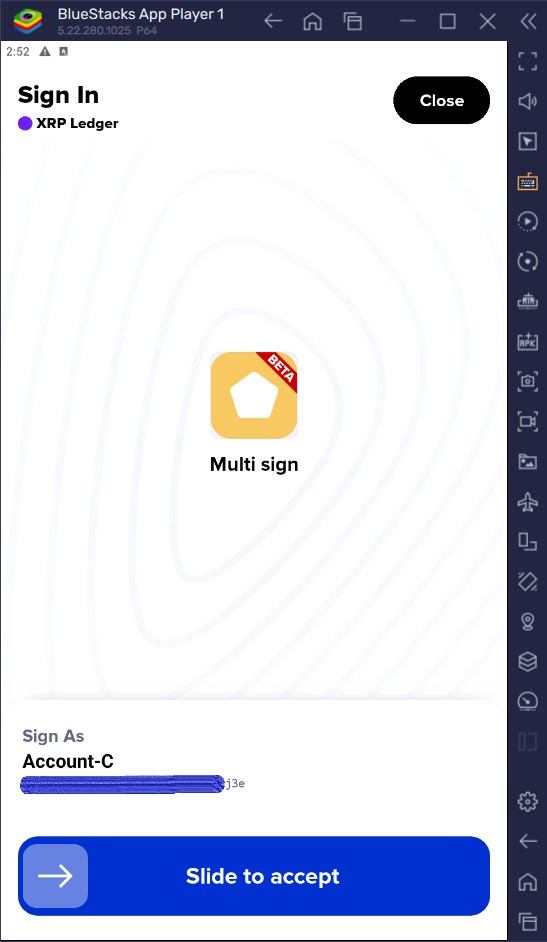
Step 17: Phone 2 – Slide to Authenticate
Slide to accept authentication using Phone 2’s credentials.
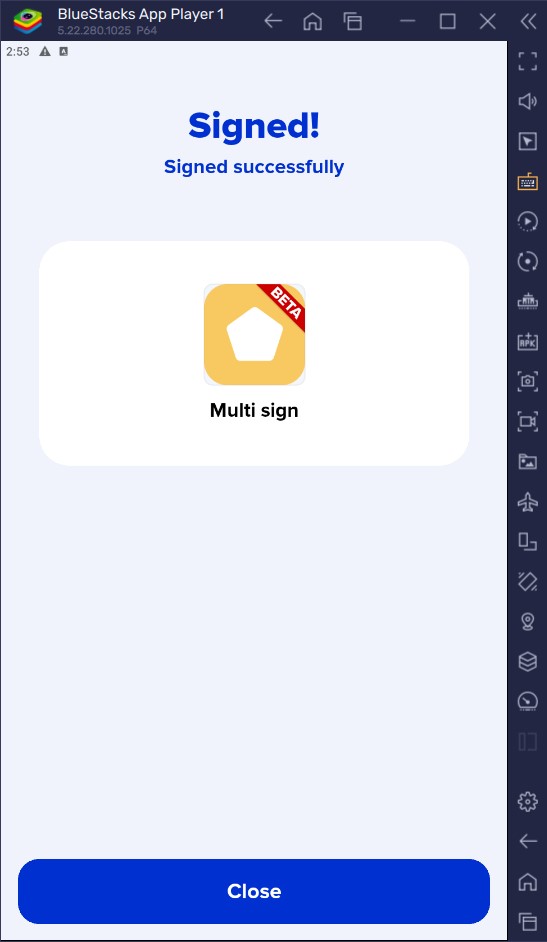
Step 18: Phone 2 – Authenticated Successfully
MultiSign xApp grants dashboard access using Account C’s authority.
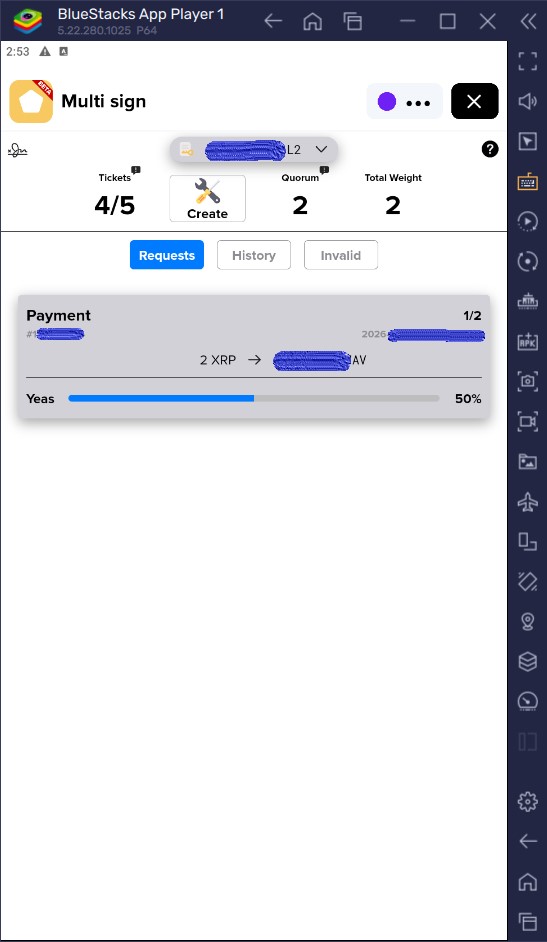
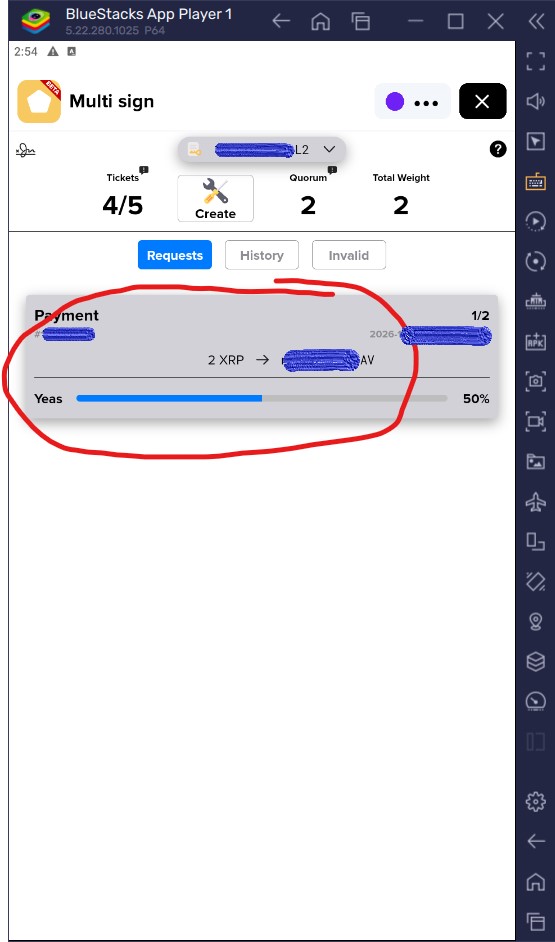
Step 19: Phone 2 – Locate Pending Request
On the MultiSign dashboard, view the pending 50% request created by Phone 1.
Step 20: Phone 2 – Open Pending Payment Proposal
Tap the gray payment proposal box to view the full transaction summary and voting status.
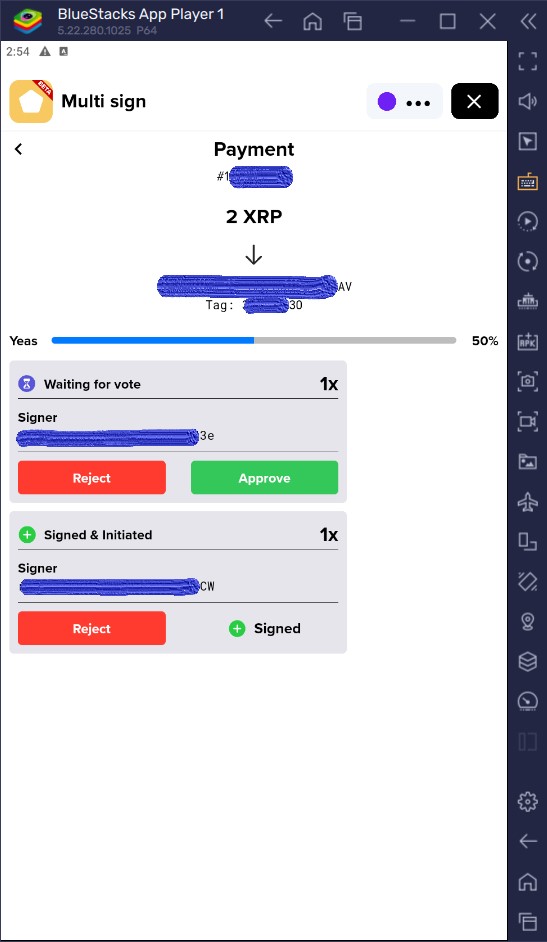
Step 21: Phone 2 – Review Proposal Details
Verify the destination address, amount, and tag created on Phone 1 match before approving.
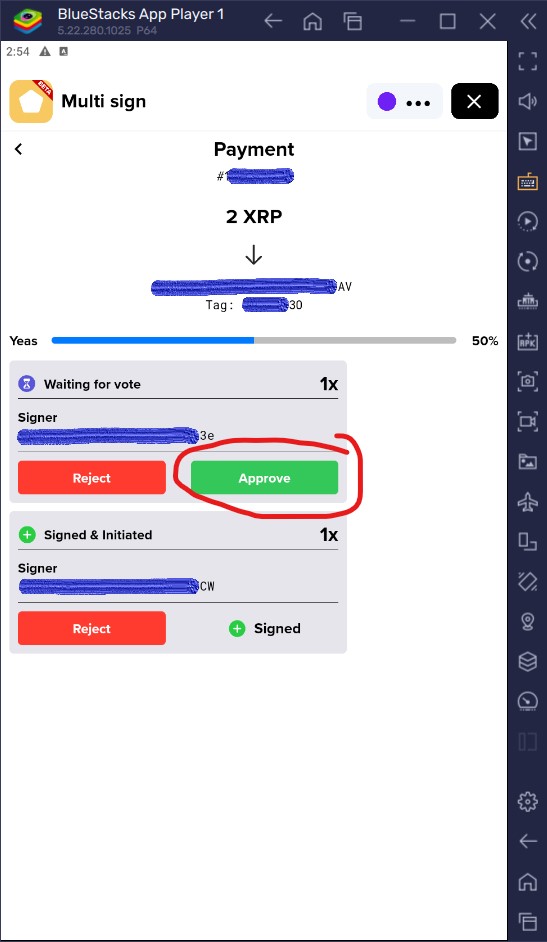
Step 22: Phone 2 – Approve as Account C (*3e)
Tap the green Approve button next to Account C to attach the final required signature.
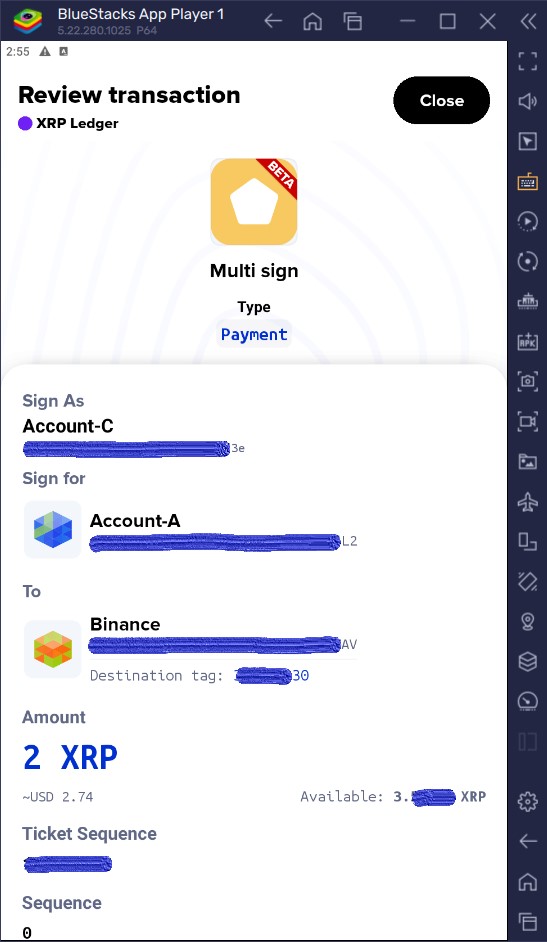
Step 23: Phone 2 – Review Co-Sign Payload
Confirm the co-signing action on Phone 2’s transaction review screen.
Step 24: Phone 2 – Slide to Accept (Signature 2 of 2)
Slide to accept using Phone 2’s passcode or biometrics to achieve 100% Quorum.
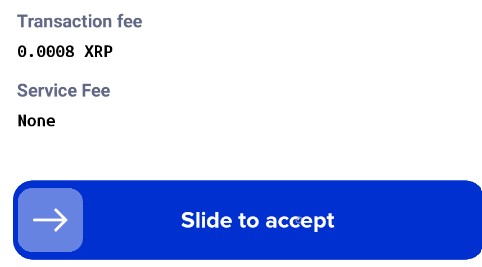
Step 25: Phone 2 – Signature 2 Applied
Both required signatures (Account B and Account C) are now attached to the transaction payload.
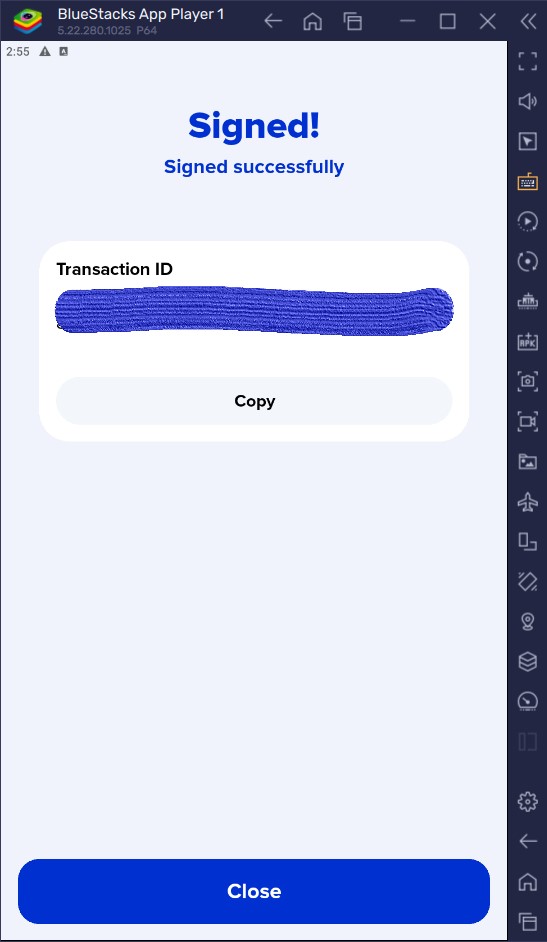
Step 26: Phone 2 – Full Quorum Achieved (100%)
The voting progress bar reached 100% approval, enabling the network broadcast option.
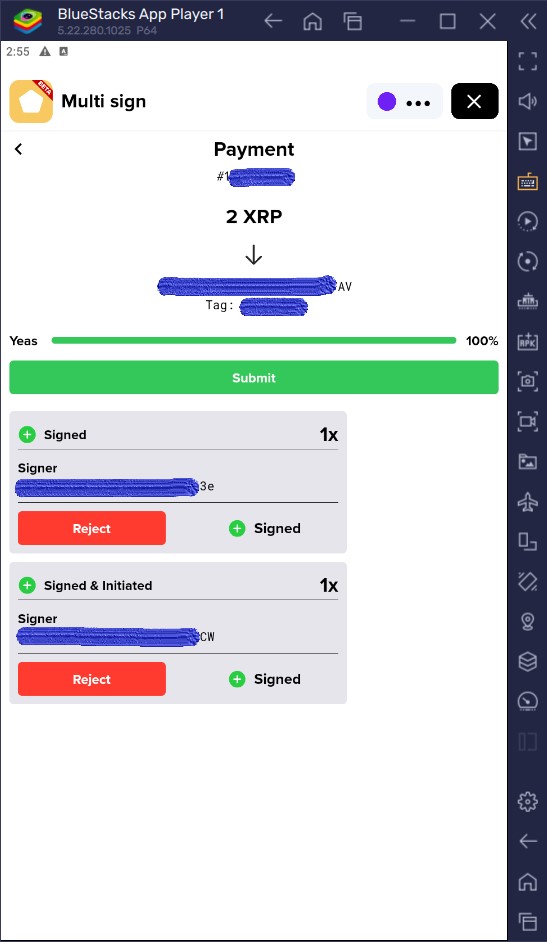
Step 27: Phone 2 – Broadcast to XRP Ledger
Tap Submit to send the fully co-signed multi-sig transaction to the XRPL network.
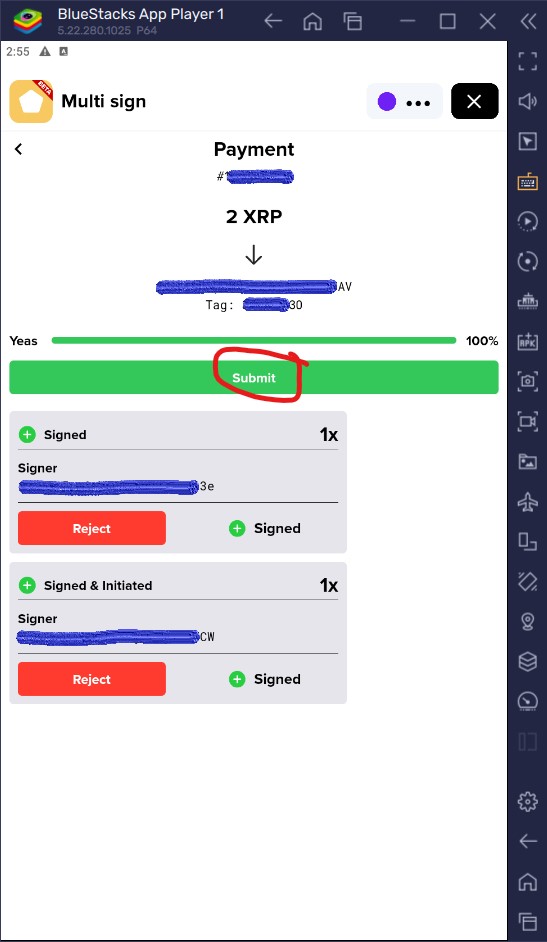
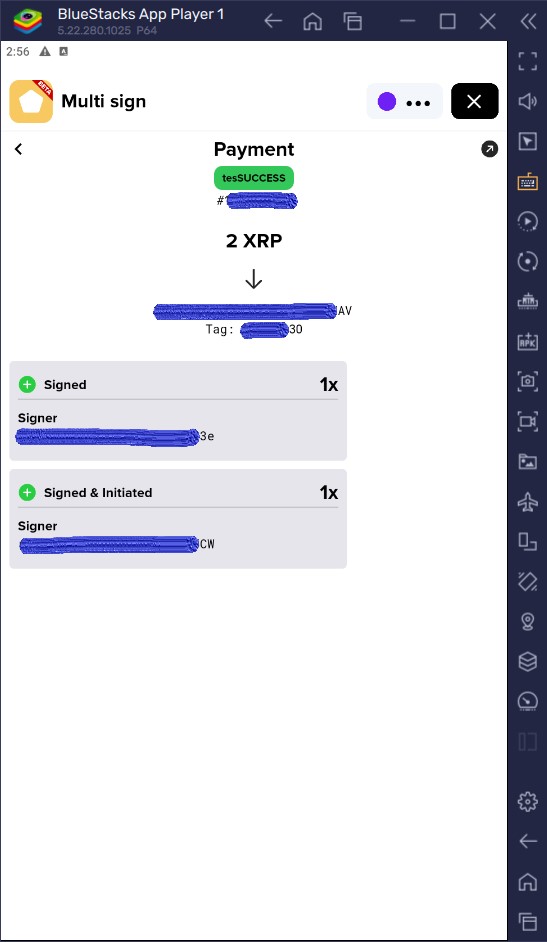
Step 28: Phone 2 – Transaction Validated On-Chain
Payment is validated by the ledger in seconds, consuming one ticket and transferring the funds to Destination wallet address.
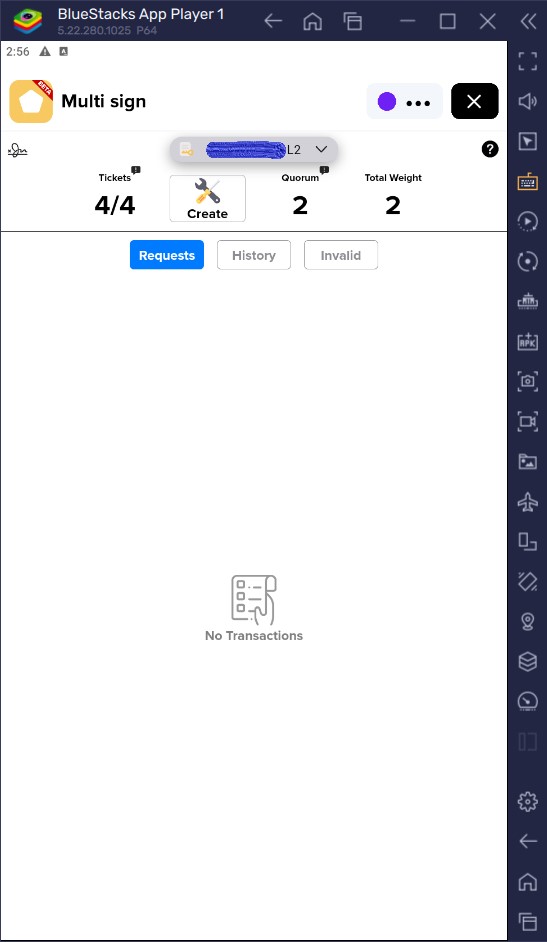
Step 29: Phone 2 – Updated Ticket Inventory
Return to the MultiSign tickets screen, showing 4 remaining active tickets ready for future transfers.
Part 3: Verification
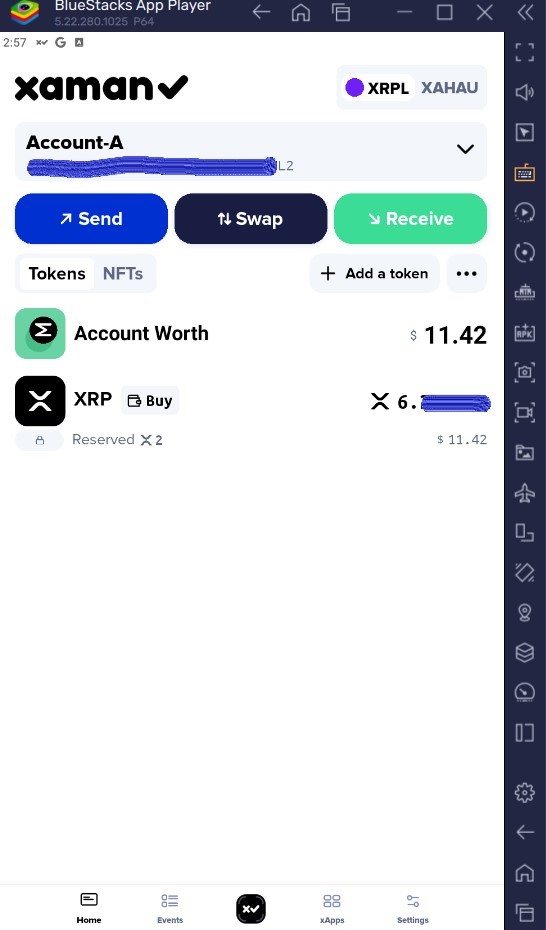
Step 30: Phone 1 – Confirmed Vault Balance Update
Check Vault Account A on Phone 1 to confirm the updated XRP balance and completed transaction log.
Brandi Potter recently mentioned a prophetic dream about an XRPL cyber hack coming. So might be a good idea to do what you can to be safe out there. here is her post: https://www.youtube.com/post/UgkxK–Jig8V8daJeABsF0Sdwy3a1smn9KgL
Also check out the Lobstr Wallet Multi-sig for Stellar Blockchain. Protect your XLM and USDC on the Stellar network: https://propheticmoney.com/be-your-own-bank-now-with-stellar-usdc-prophetic-money/